

Where Should a Weighted Sleep Mask Apply Pressure?
Written by the Mellooa Editorial Team
A weighted sleep mask should feel supported around the eye area, not pushed into the eyes. On a broad wraparound design, the contact is shared across the lower forehead and brow area, the temples and sides of the head, and the upper cheek or nose-edge region where the mask meets your face. The exact balance changes with facial shape, head size, sleep position, and the mask’s construction.
That distinction matters because “pressure” can sound as if one small spot should carry the weight. It should not. The practical goal is a broad, calm contact field with no sharp hotspot, no painful pull at the rear fastening, and no need to tighten the mask until it presses on the eyes. This article explains that fit question for Mellooa’s continuous wraparound geometry. It is not a weight prescription or a medical safety verdict.
The short answer: pressure around the eye area, not into the eyes
Start with four zones: lower forehead and brow, temples, upper cheek or nose edge, and the broad sides and rear wrap. None of those zones should feel like a single hard anchor. They work together. The front shapes the light barrier, the sides continue the contact around the head, and the rear overlap keeps the band closed without relying on a thin elastic strap.
The eyes themselves are not a target to press. Ophthalmic guidance for examining the eye specifically avoids pressing on the globe, and clinical literature shows that direct orbital pressure can affect intraocular pressure in very different medical settings. Those sources do not define a safe consumer-mask pressure level, and they do not prove that a particular sleep mask is harmful or safe. They support a simpler boundary: do not turn direct, uncomfortable eye pressure into a feature you are expected to tolerate.
If the mask feels soft and broad at the forehead and sides but sharp on one eyelid, the fit is not “more weighted.” It is uneven. Repositioning is the first response. Tightening is not.
Read Mellooa as one continuous pressure field
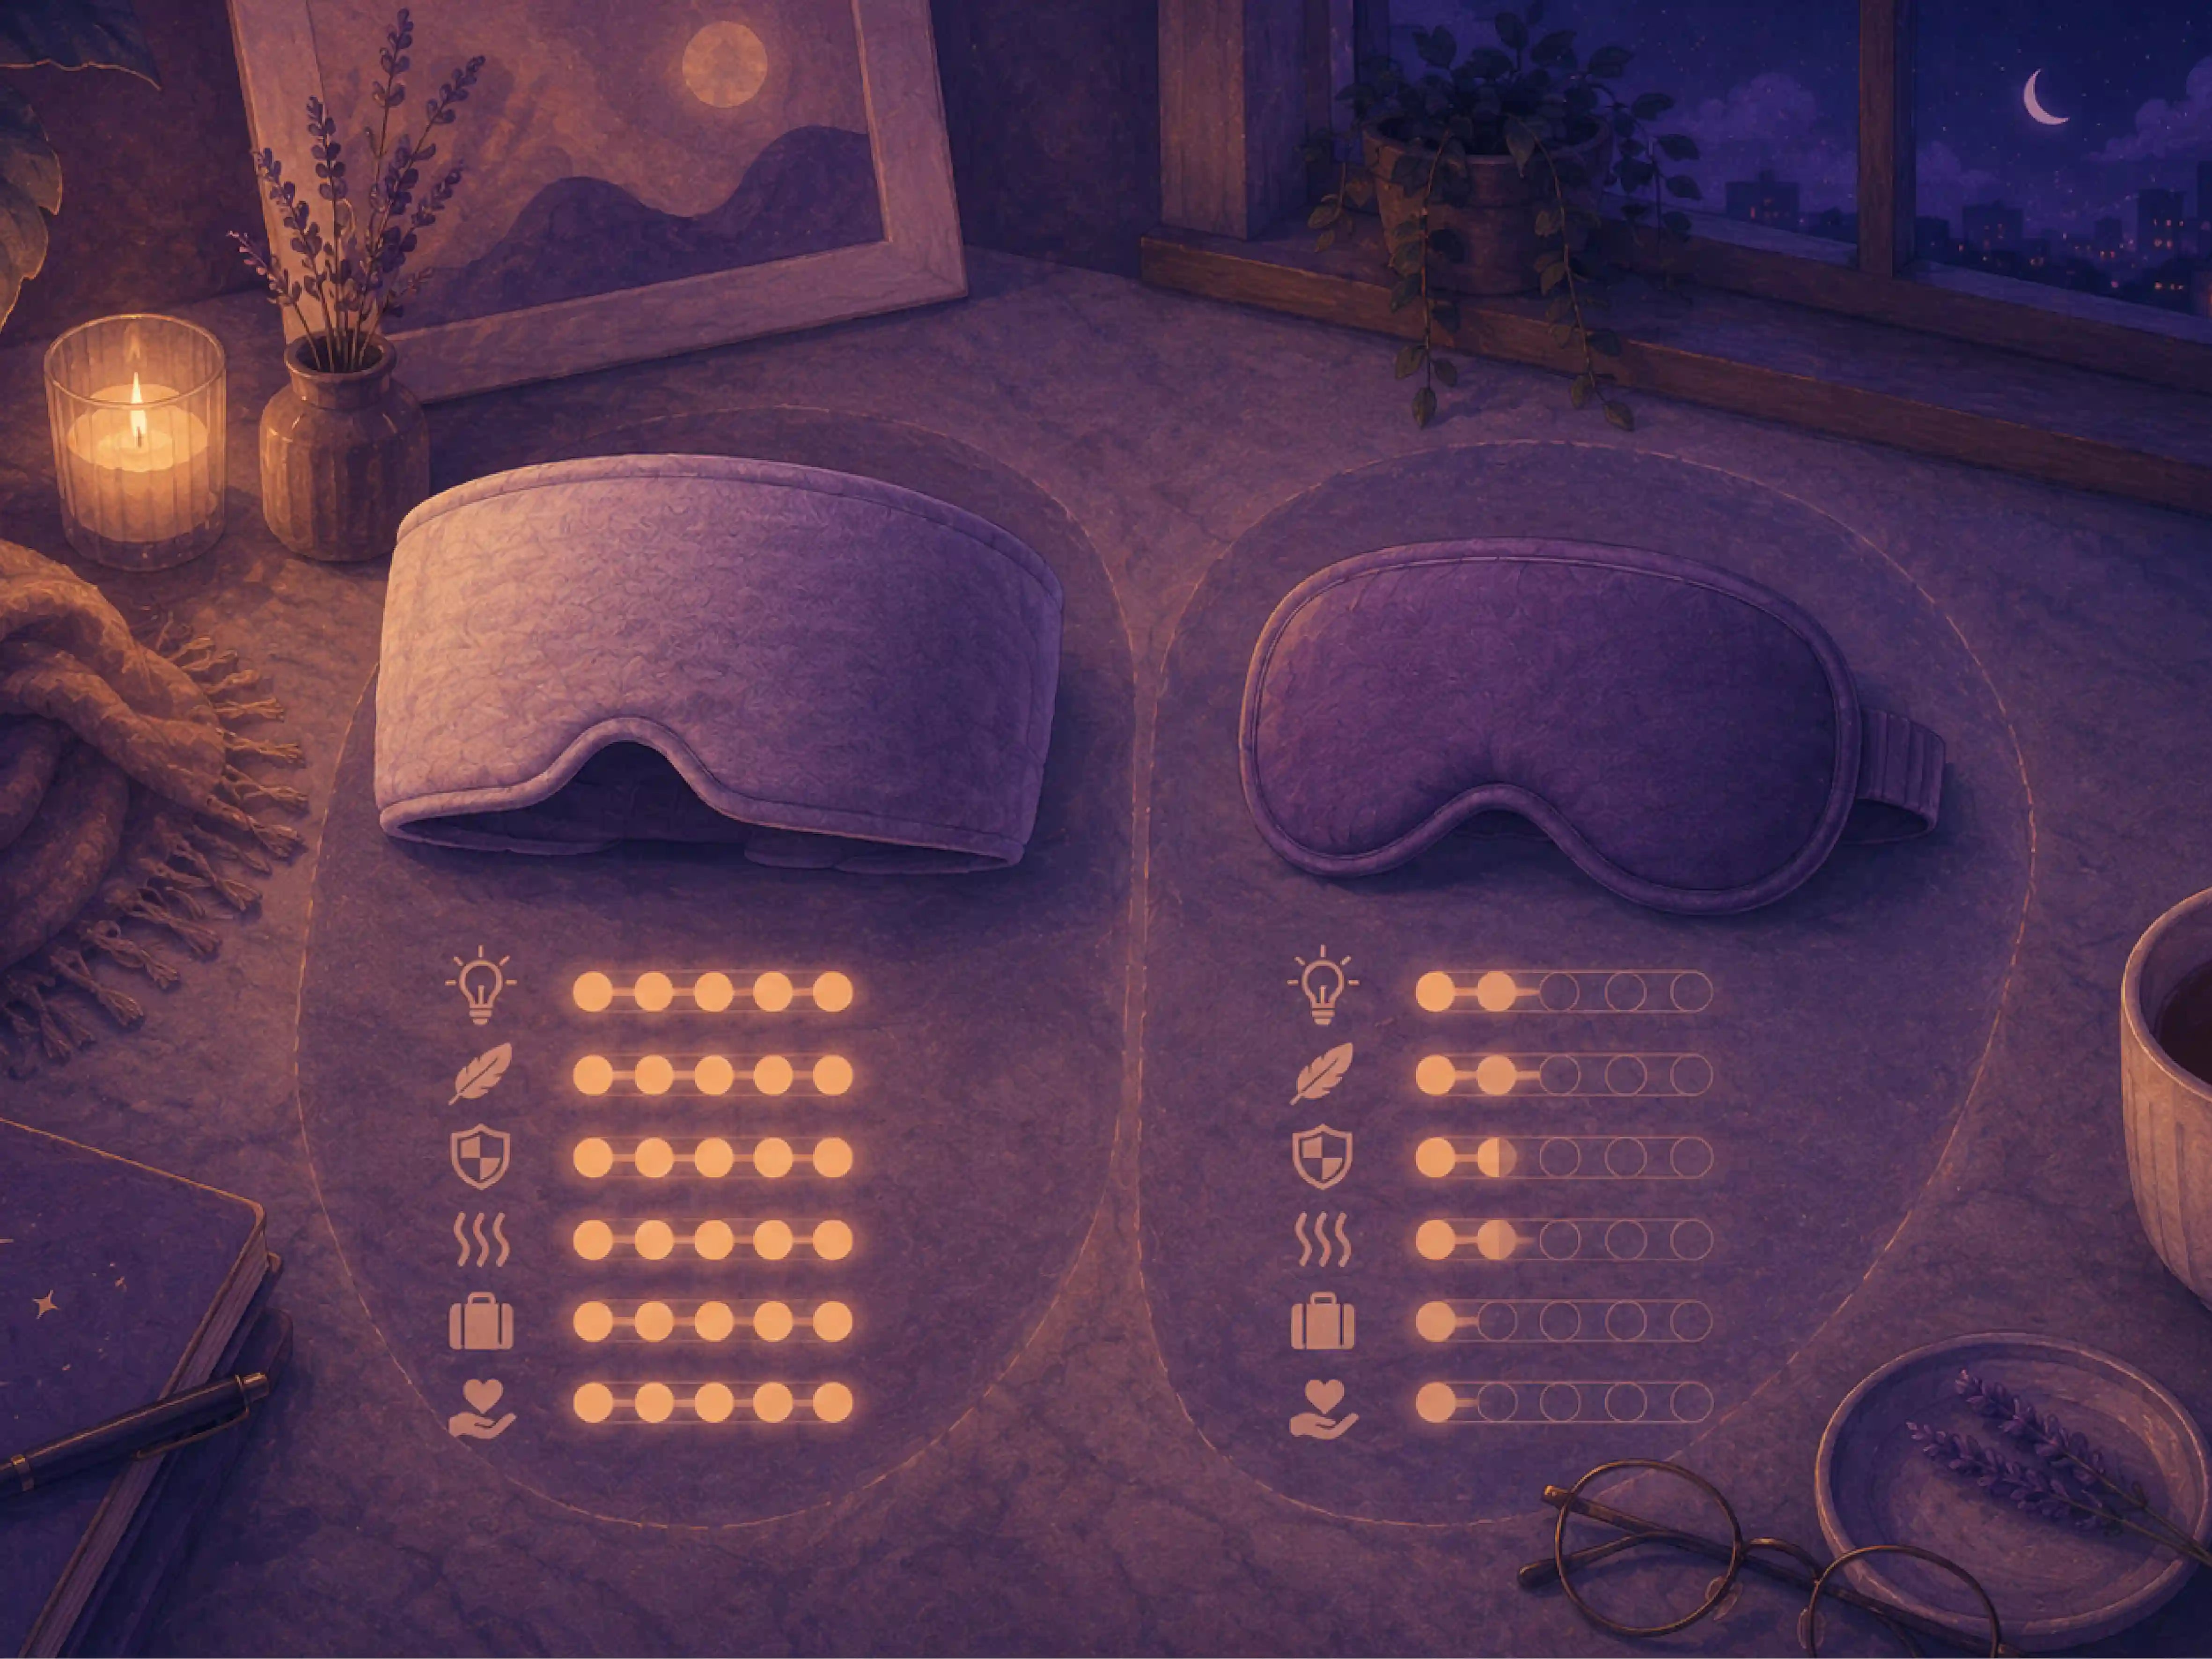
Mellooa is not a small eye panel connected to a narrow strap. Its verified product geometry is one continuous broad wraparound band. The front, temple, and side sections remain nearly the same height as the band curves around the head. The top stays open, and the lower front edge uses a centered nose notch. At the back, two broad ends overlap across the rear of the head.
That construction changes how to read the fit. A thin-strap mask often asks a small rear band to pull an eye panel toward the face. A broad wrap can distribute closure force over more surface area. But broad coverage does not automatically mean perfect distribution. Hair, head circumference, pillow contact, placement height, and how the rear overlap is fastened can still shift the sensation forward, upward, or to one side.
Think of the mask as a soft loop with several connected regions. If one region is overtightened or folded, the rest of the loop responds. A rear overlap set too tight can make the front feel heavier. A front edge placed too low can crowd the nose. A side edge folded by the pillow can create a local ridge. The remedy is to rebalance the whole wrap, not force one point to endure more pressure.
A pressure map from front to back
| Zone | What the contact should do | What to check |
|---|---|---|
| Lower forehead and brow area | Share the upper front contact across a broad line rather than one central spot. | The upper edge should not roll, dig, or leave one eyebrow carrying the fit. |
| Around the eyes | Create a light barrier and soft surrounding contact without using the eyes as an anchor. | Close and gently open your eyes. There should be no sharp, focal, or painful pressure. |
| Upper cheek and nose edge | Let the lower edge meet the face while the centered notch releases the nose. | The notch should sit around the nose bridge rather than being pulled down or cinched shut. |
| Temples and sides | Continue the broad band around the head and spread contact beyond the front panel. | The band should remain full-height, not twist into a cord or narrow ridge. |
| Above the ears | Follow the chosen placement without pinching or folding against the ear. | Test whether covering, partly covering, or sitting above the ear feels more natural for you. |
| Rear overlap | Close the broad wrap with a flat, secure overlap rather than a knot or tight strap. | The ends should lie flat and close to the head, with no long tail or painful pull. |
This is a construction map, not a universal anatomy chart. Face shapes differ, and a pressure point that feels neutral to one person can feel distracting to another. The useful test is not whether your mask matches a diagram perfectly. It is whether the contact remains broad, stable, and easy to forget rather than sharp, escalating, or difficult to escape.
Why fit changes the pressure map
Placement height
Moving a broad mask only a small distance changes which facial contours meet its upper and lower edges. Too high, and the lower edge may admit light around the nose. Too low, and the front may crowd the nose or upper cheeks. Start with the nose notch centered, then settle the band across the brow and sides before fastening the rear.
Rear overlap
The rear closure should hold the wrap in place, not pull the front hard against the face. Fasten it just securely enough to keep the band from dropping or rotating during a short test. If the mask stays only when it feels tight, first check alignment, hair under the overlap, and whether the band has twisted.
Hair and head shape
Hair can behave like a low-friction layer. A ponytail, bun, braid, smooth hair, or loose strands under the rear overlap can change both grip and pressure. Place the fastening area on a stable part of the rear head, then move only one variable at a time. More tension may hide the cause without solving it.
Pillow contact and sleep position
A fit that feels even while sitting can change on a pillow. Side sleeping can push one side inward, lift the opposite edge, or fold fabric near the temple. Back sleeping can make the rear overlap more noticeable. Test in your normal position before deciding that the pressure map is right.
Material direction and folds
A seam, edge, or small fold can turn broad contact into a narrow pressure point. Smooth the front and side sections before lying down. If you choose a different fabric side against the skin, repeat the fit check rather than assuming the pressure will feel identical.
What wrong pressure feels like
Wrong pressure is focal, escalating, or difficult to ignore. It may feel like one point pressing into an eyelid, the nose notch being pulled downward, a side edge cutting above the ear, or the rear overlap tugging the entire front backward. It can also show up as pain, persistent numbness, visual disturbance, breathing restriction, or a feeling that you cannot remove the mask easily.
Those are stop signals, not a break-in process. Remove the mask and let the sensation settle. If the issue was a fold, height, hair placement, or overtight rear overlap, correct one variable and retest briefly. If pain, vision change, or another concerning symptom persists, or if you have an eye condition, recent eye procedure, or injury, ask an eye-care professional about your own situation before adding pressure around the eyes.
Ordinary eye-mask research has studied light blocking during sleep, including a 2023 experiment that reported changes in next-day alertness and memory measures. That study did not test a weighted mask or pressure placement. It supports darkness as a plausible environmental function, not the idea that more pressure produces a better sleep outcome. Read the open-access eye-mask study for the actual intervention and limits.
A two-minute placement check
1. Center the nose notch
Place the mask with the lower notch centered around the nose bridge. Let the front rest rather than pulling it down. Check that breathing remains completely natural.
2. Smooth the broad sides
Run your fingers from the front toward both temples. The band should keep its broad height. Remove twists, rolled edges, trapped hair, and folds before fastening.
3. Close the rear overlap lightly
Fasten the broad overlap so it lies flat against the rear of the head. Use the least closure tension that keeps the mask from dropping during the test.
4. Name the pressure zones
Notice the brow, temples, upper cheek or nose edge, sides, and rear overlap. Ask whether several zones are sharing the contact or whether one point is doing all the work. If one point dominates, reposition before tightening.
5. Test your real sleep position
Lie down, turn your head once to each side, and pause. Check the eyelids, nose, temples, ears, and rear overlap again. A mask that shifts, pinches, or becomes sharply noticeable on the pillow needs adjustment.
6. Remove it easily
Confirm that you can release or lift the mask without struggling. Easy removal is part of a usable fit. If the contact feels wrong, stop the test rather than waiting for your face to adapt.
Where Mellooa fits
The Mellooa weighted sleep mask is built around broad coverage and continuous side contact rather than narrow strap tension. Its centered nose notch, full-height sides, and wide rear overlap create a wraparound pressure field that can be adjusted as a whole. That geometry is the reason this guide focuses on distribution from front to back.
Those features do not guarantee one fit for every face. Mellooa may suit someone who prefers a broad, noticeable boundary around rest and dislikes a thin strap. It may not suit someone who wants rigid eye cups, nearly no facial contact, or the smallest possible mask. The honest choice comes from a short fit test, not from treating weight as an upgrade.
For the separate mechanism and evidence question, read how weighted sleep masks work. For a closer view of Mellooa’s construction, visit How It Works. This article stays with the narrower question: where the contact should land and when to adjust or stop.
Adjust or stop if pressure feels wrong
A good pressure map is broad and unremarkable. The brow area, temples, sides, upper cheek or nose edge, and rear overlap share the work. The eyes are not used as an anchor, and the closure does not need to be overtight.
If one spot becomes sharp, move the mask. If the entire front feels heavy, loosen the rear overlap. If the nose feels crowded, recenter the notch. If the pillow changes the fit, test a different height or side position. Change one variable, retest briefly, and keep only the adjustment that makes the contact more even.
If pain, persistent numbness, breathing restriction, or visual disturbance appears, remove the mask. Pressure that feels wrong is information, not a challenge. The correct Mellooa fit is the one that creates a soft, distributed boundary around the eye area without asking your eyes or any single point to carry it.
Sources
- EyeWiki, On Call Ophthalmology — clinical boundary on avoiding pressure on the globe
- Systematic review of prone surgical positioning — direct orbital pressure and intraocular-pressure boundary
- Greco et al., ordinary eye mask, overnight light blocking, learning and alertness (Sleep, 2023)
- Effect of a head strap on an eyelid warming compress — design-pressure boundary, not a Mellooa study